
I’ve been hard at work during these Covid times on this labour of love: fixing bugs, dramatically improving existing features, and adding significant new features. My focus has been on playability, having played many ends and games with my partner, and talking through and improving the frustrating parts.
We now feel that Chess On Ice is now at a point where it’s very fun and easy to play. I’d love to hear whether you agree.
Download Chess On Ice Version 3.0: http://chessonice.ca/download-chessonice-3-0/ (It’s free.)
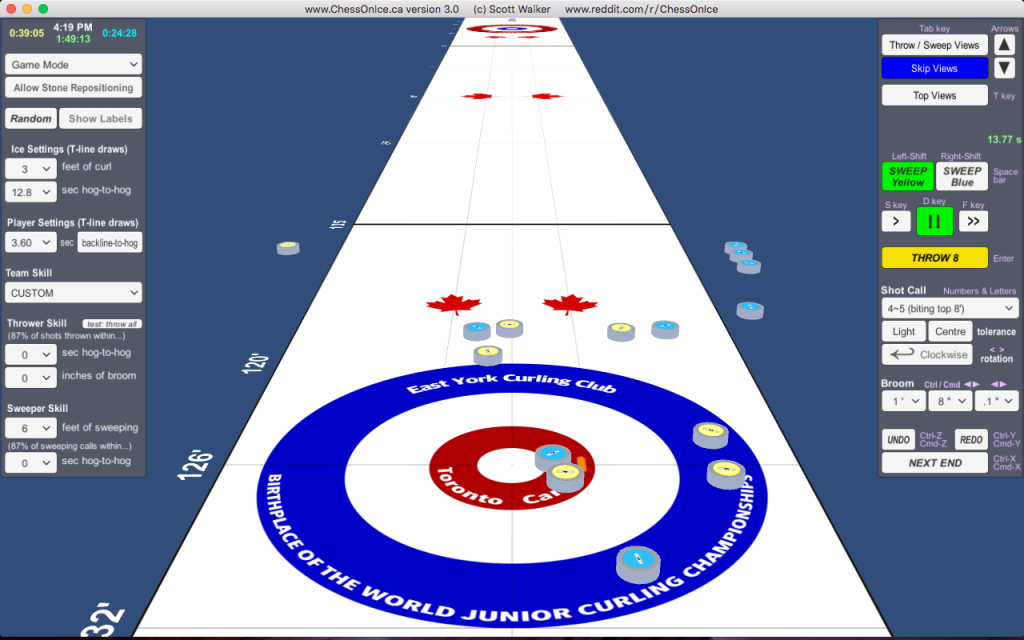
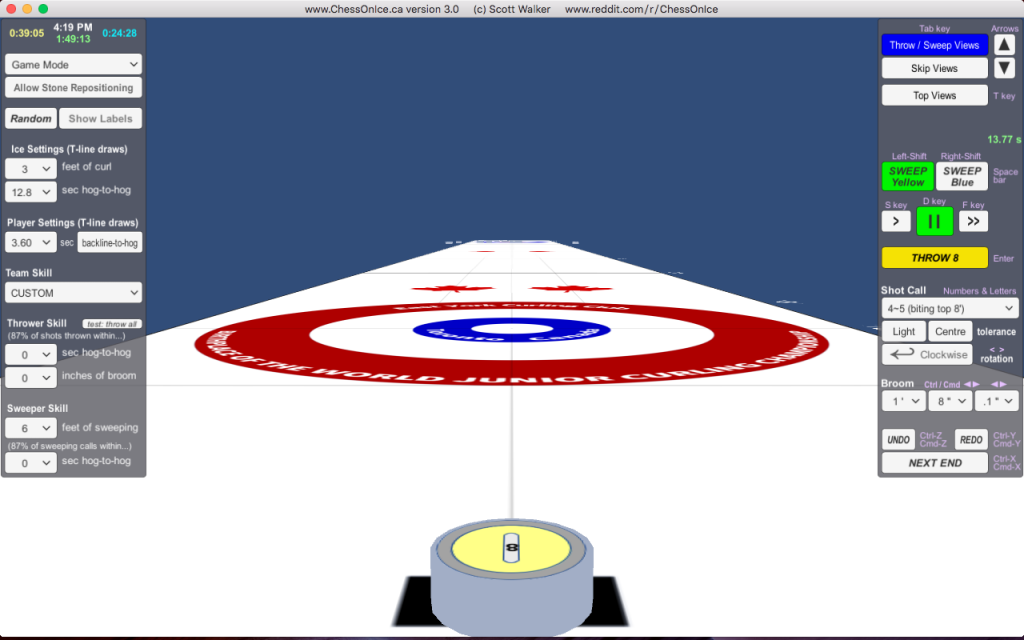
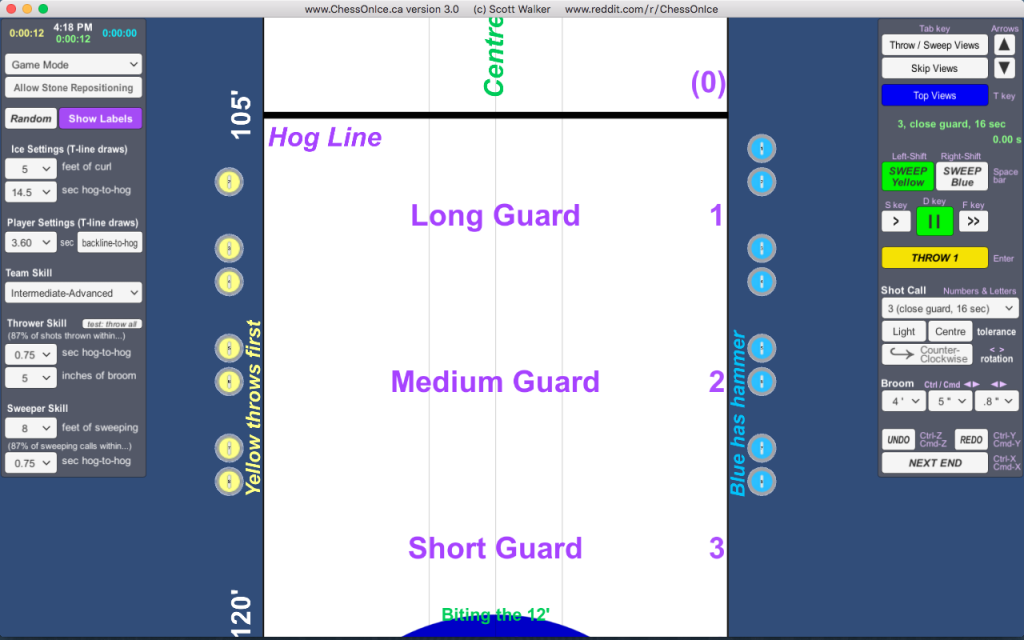
Opening Screen
Here is what you see when you first start this new version of the app.
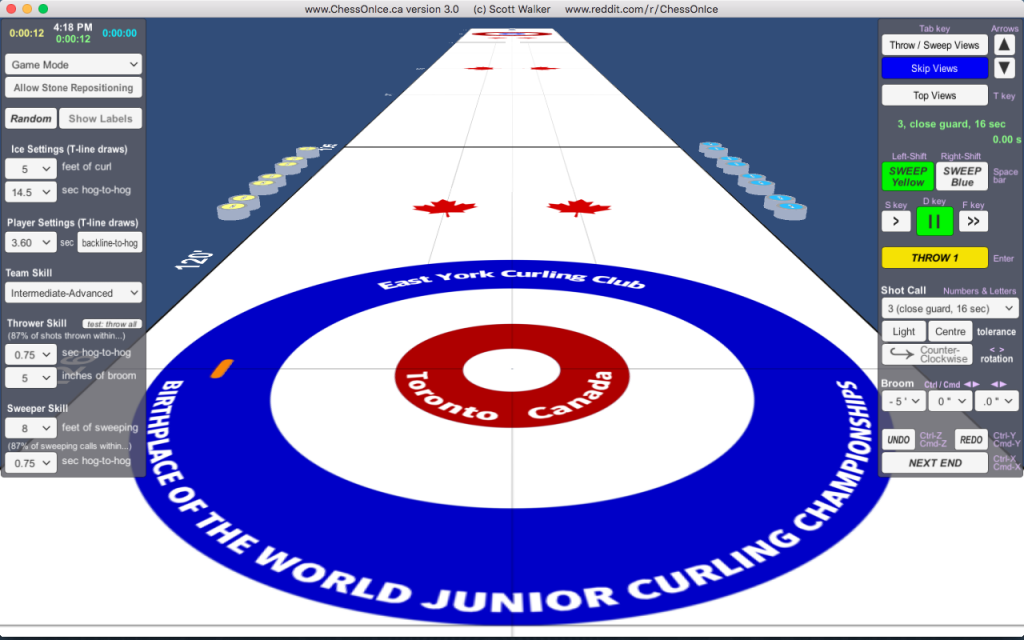
I took the liberty of representing my home club in the rings. 😛
In this case, the “Skip View”, “Sweep Yellow”, and “Pause” buttons are active, and the “Throw” button is yellow indicating that it is the yellow player’s turn.
Right Menu: Controls
The menu on the right side of the screen (see Figure 2, right) contains all of the buttons and dropdowns needed for controlling the game: calling, throwing, and sweeping your shot; adjusting your view type and view height; undoing and redoing a shot; measuring the stones after all shots have been thrown; and moving to the next end.

Controls
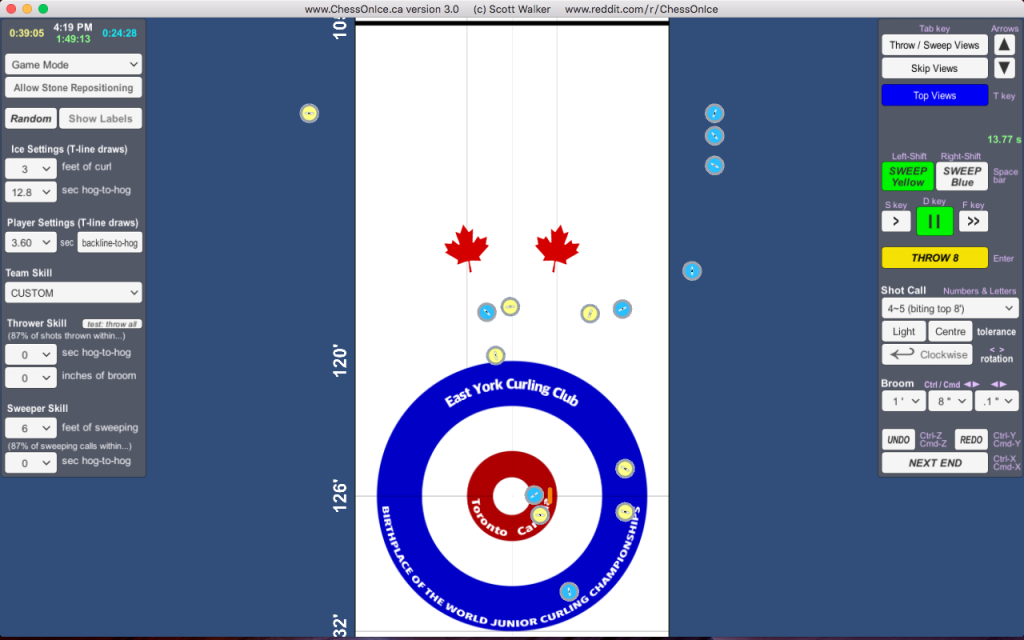
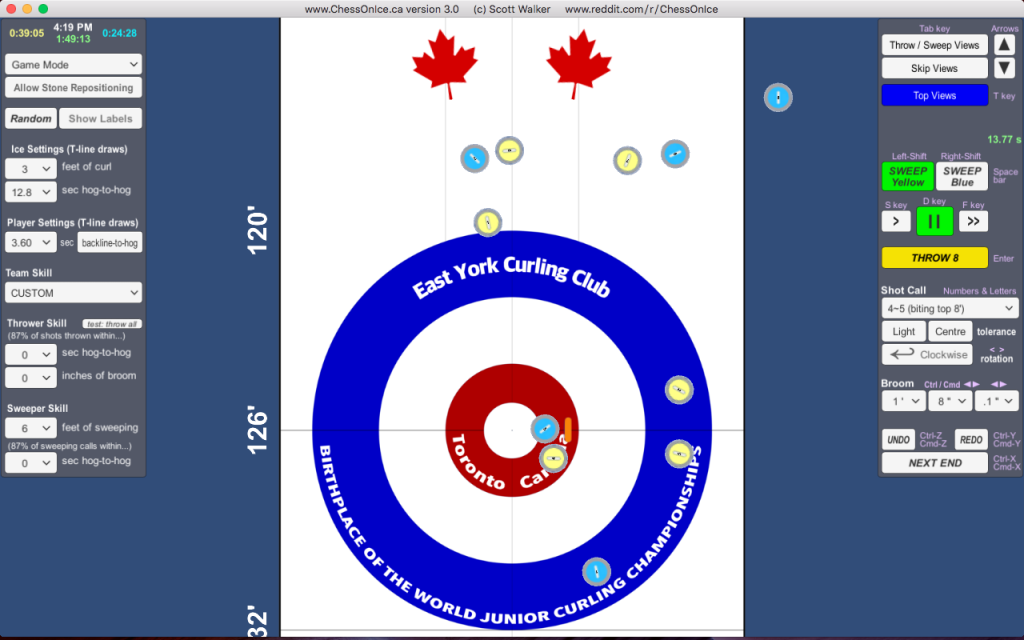
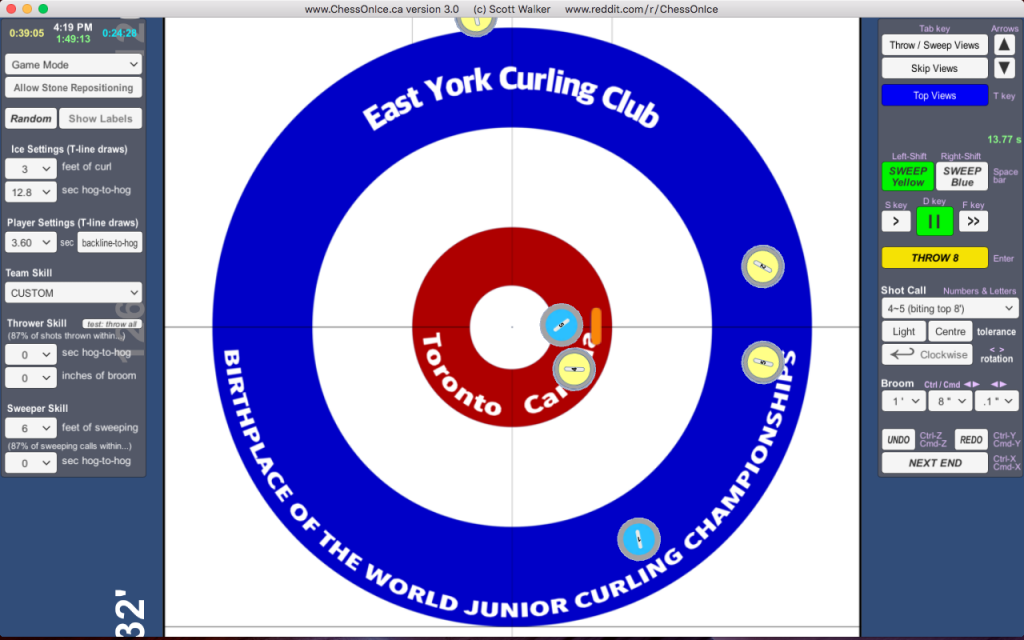
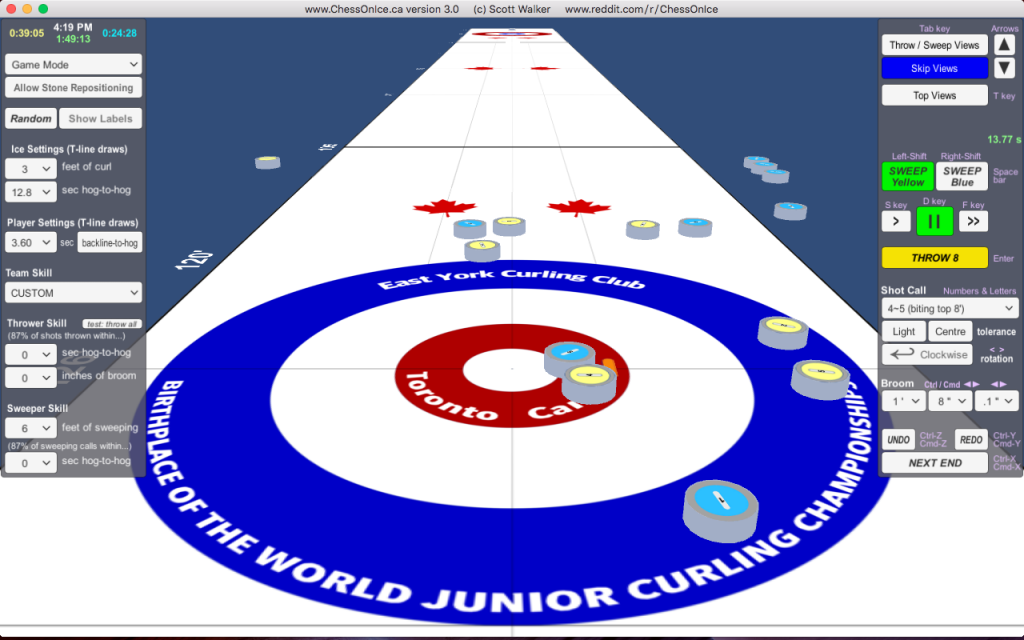
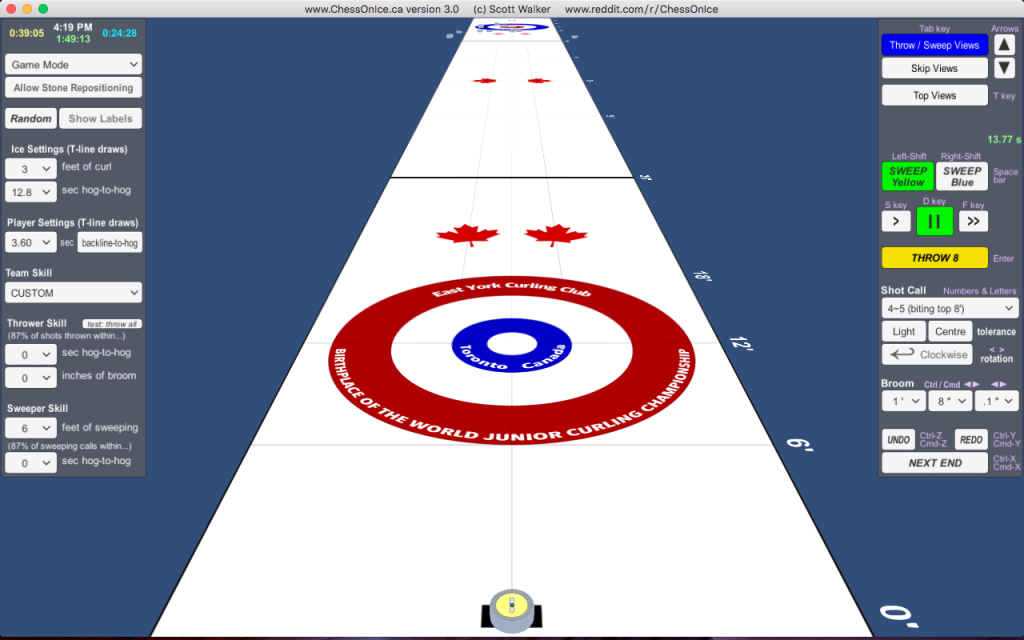
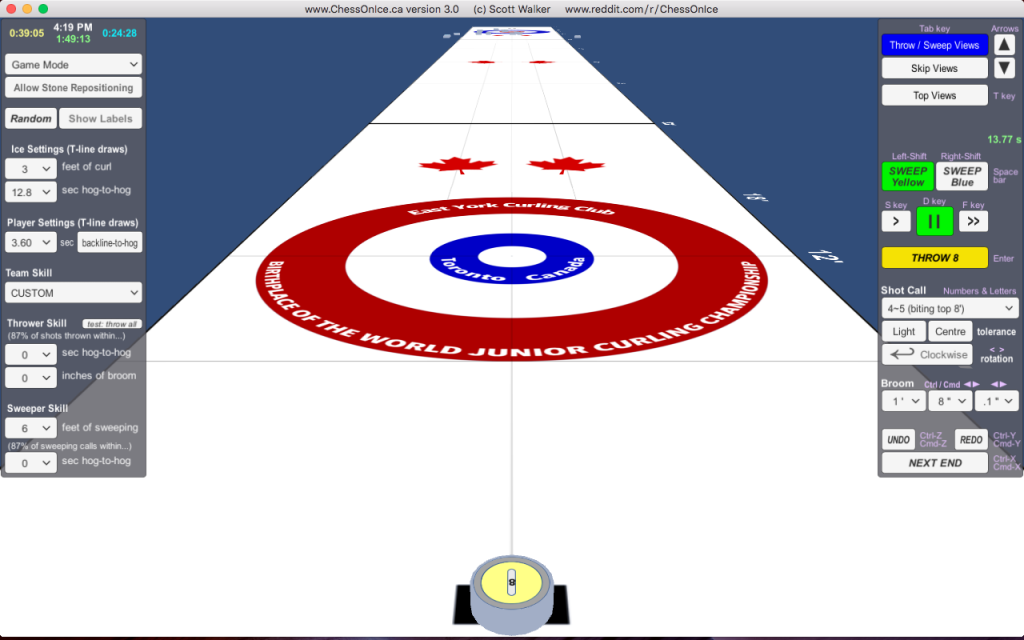
The “tab” key toggles between viewing from the perspective of the skip and the thrower / sweepers. The “t” key toggles between viewing from the perspective of a top-down tv camera and the skip view. The up and down arrow keys switch between the high, middle, and low versions of each view. And the buttons visible can also be used to choose which view and the higher or lower version of each. See Figure 3 below for a gallery of examples with each of these views.

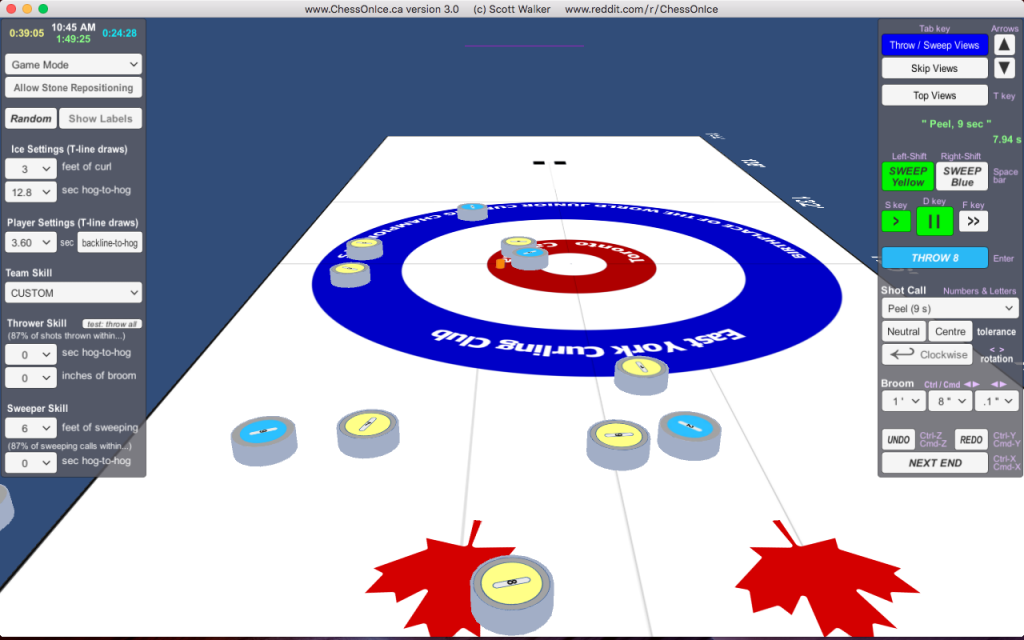
Below the view buttons are the sweeper calls, where sweepers estimate the shot weight (i.e. speed / stopping distance) using words and numbers, about every 4 seconds. (Note: the “show labels” button in the left menu can be used to teach / learn the meanings of that terminology.) They do so according to their skill level, set in the left menu. These are only visible in game mode.
Next are the stopwatch times. On the left is the backline-to-hog-line split time; in the middle is the T-line-to-hog-line split time; on the right is the hog-line-to-hog-line time. The split times are hidden in “game mode” (see left menu).
Below the stopwatches are the sweep buttons. The left sweep button (or holding the “left-shift” key) sweeps all yellow stones; the right sweep button (or holding the “right-shift” key) sweeps all blue stones; and holding the “space bar” key sweeps all stones. (For those new to curling: sweeping helps stones maintain their speed longer and also “curl” later. It’s up to the players to only sweep when they are allowed to according to the rules of curling.)
Next is the “throw” button for throwing the shot you’ve called; you can also use the “enter” / “return” key. It’s yellow when it’s the yellow team’s turn, and it’s blue when it’s the blue team’s turn.
Before throwing, you’ll need to call your shot by choosing the “weight” (i.e. speed or stopping position) from the next dropdown menu; you can also click the “+” or “-” button to select the next higher or lower wight; or, if you prefer, you can hit the key for the weight you want as described below:
- Numbers “1” to “9” and “zero”: selects guards and draws corresponding to that numbered shot from 1 to 10 (Click “show labels” in left menu to see the meaning of each number.)
- Also hold the “shift” key: to select guards/draws halfway towards the next number.
- For takeouts, hit the letter corresponding to that takeout name: bac[K]line, backline/hack [J], [H]ack, [B]oard, board-[U]p, [C]ontrol, [N]ormal, 9 second [P]eel or [P9], 8 sec peel [P8], 7 sec [P7], 6 sec [P6], 5 sec [P5].
Below, you also choose the “rotation” for the stone, by clicking the button until it shows “counter-clockwise” or “clockwise” (or using the “<” or “>” key) as desired. You can also choose whether the shot’s tolerance is to be light, heavy, or neutral; and left, right, or centre. (Guards and draws default to a “light” tolerance, while takeouts default to a “neutral” tolerance.)
The final aspect of calling your shot is placing the broom. You can use the dropdown menus to select the exact distance left or right of the centre-line (negative or positive). Or, you can use the left and right arrow keys to move the broom slowly (or shift-arrow to move it quickly: left, right, up, or down). But probably the easiest way is just to click on the ice where you want the broom to be, or drag-and-drop the broom.
Near the bottom of the right menu, you can “undo” a shot with the undo button or “control/command+Z”. Use “throw” for a fresh shot, or “redo” (“control/command+Y”) which will rethrow it exactly as it was thrown before you chose to undo it — i.e. including whatever line and weight errors the thrower made — and then you can have another attempt at sweeping it the way you want.
And finally, when all of the shots have been thrown, the yellow/blue “Throw” button becomes a red “Measure” button for measuring the exact order of stones in the house if it’s not obvious by eyeing it. Once you’ve noted the score for the end, click the “Next End” button (or “control/command+X”) to start a new end. (Note: In this version of the simulator, you need to keep track of the score and who has the hammer, yourself. Also, in this version, yellow always throws first, so whoever has the hammer must take the blue stones. The next version of the game will keep track of the points for you over the course of the game, swap the hammer as necessary, etc.)
Left Menu: Settings
The menu on the left side of the screen (see Figure 4, left) contains all of the settings for the ice and the players (throwers and sweepers), as well as the time clocks at the very top, and some game modes and actions just below.
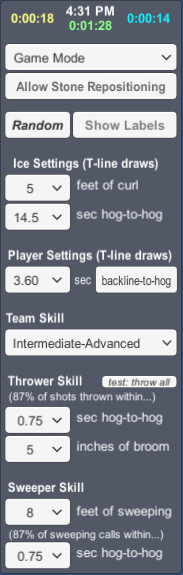
Settings
White Clock: time of day (useful in full-screen mode). In this case, the time is 4:31 pm.
Green Clock: total game time for both players (stops counting when game is paused). In this case, we are 1 minute and 28 seconds into the game.
Yellow Clock: yellow player thinking time (starts when previous blue throw is finished; stops when yellow player clicks “throw”). In this case, yellow has used 18 seconds of thinking time so far.
Blue Clock: blue player thinking time (starts when previous yellow throw is finished; stops when blue player clicks “throw”). In this case, blue has used 14 seconds of thinking time so far.
Note: the Yellow player is the one throwing first; the Blue player is the one throwing second (has the “hammer”).
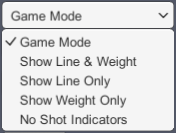
Indicator Modes
The first dropdown selects the shot line and weight indicator mode, as shown in Figure 5, left.
Game Mode: The line (i.e. direction) is indicated by a pink laser-beam until the stone passes the first hog line. The weight (i.e. speed / stopping distance) is estimated in words by your sweepers in the Right Menu between the “Views” and “Sweep” controls.
Note that the hog-to-hog time clock is always visible. The sweeper weight estimates are only visible in game mode; the split times are only visible in the non-game-mode practice modes described next.
Show Line & Weight: the current exact line and weight are shown by the direction and end-point of a pink laser beam.
Show Line Only: only the line is indicated by a pink laser-beam (which has no end-point).
Show Weight Only: only the weight is indicated by a pink laser-beam drawn horizontally across the ice.
No Shot Indicators: no pink lasers are shown, and no sweeper weight estimates are given.
Without the line indicated by a pink laser, you need to decide line yourself by watching the stone, and you need to estimate weight yourself using the split times and hog-to-hog times and by watching the stone.
Selecting “allow stone repositioning” will allow you to use the mouse to drag-and-drop any stone; deselect afterwards to avoid accidental movements later (when moving the broom, for example).
Selecting “show labels” is useful for teaching/learning the words and numbers used to describe the locations and lines on the curling sheet, especially within the house, as shown in the Figure 6 gallery, below.
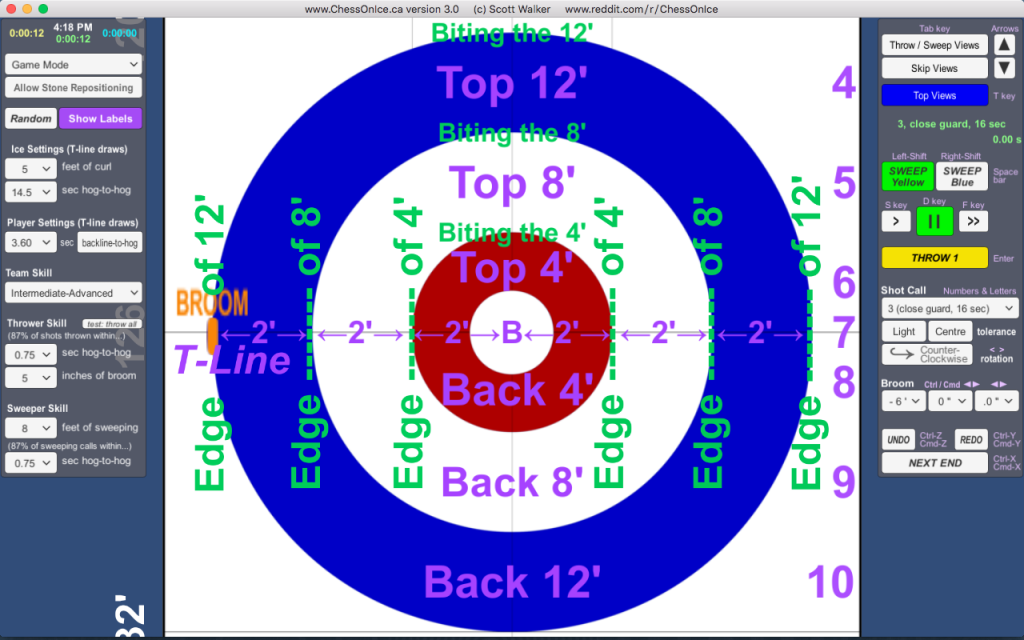
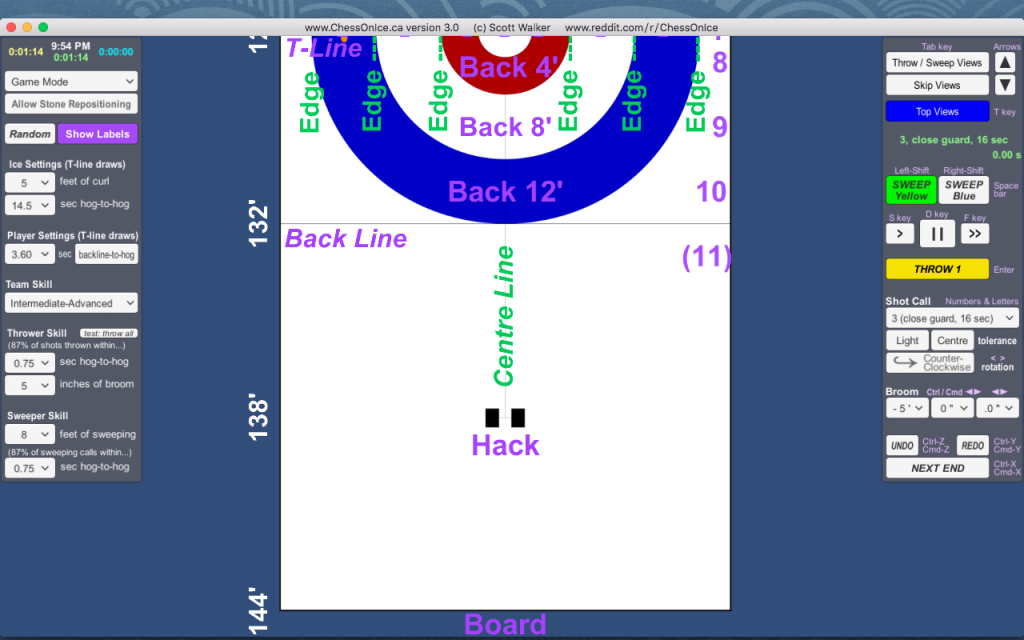
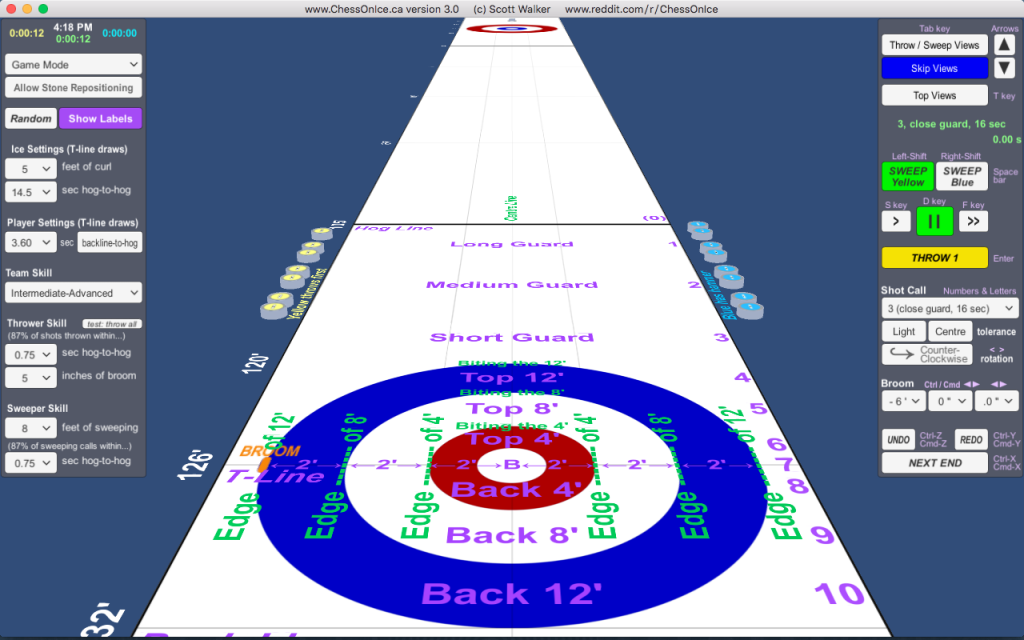
(Gallery of various views.)
Ice Settings lets you set the speed and curl of your sheet of ice. The defaults are 5 feet of curl and 14.5 seconds hog-to-hog time for a no-sweep draw to the button, which are typical for arena ice (for televised events) and also for my home ice at East York Curling Club.
Player Settings lets you choose the split time of that player for delivering a no-sweep draw to the button (either back-to-hog split or T-line-to-hog split).
(options dropdown)
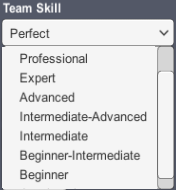
Team Skill can range from “Just Learning” to “Perfect”, as shown in Figure 7, left. This affects both the Thrower Skill and the Sweeper Skill. Or you can edit skills individually for a “Custom” Team Skill setting.
The Thrower Skill settings determine the shot’s line and weight variability (like rolling the dice). You can see what the variability will look like by clicking the “Test All” button, which will throw all of the remaining stones with the chosen variability (and with collisions disabled, so that stone can overlap with each other, just for testing purposes).
While the Sweeper Skill settings determine the sweepers’ call accuracy (in seeconds hog-to-hog) and the sweepers’ strength (for a T-line draw). The sweepers’ weight calls are updated (as words/numbers) every 4 seconds above the sweep buttons in the right side menu while the shot is in motion.
I think that’s everything. If I’ve missed anything, please let me know!
Download Chess On Ice Version 3.0: http://chessonice.ca/download-chessonice-3-0/ (It’s free.)
Watch my latest video below, showing that Chess On Ice correctly models the “drag effect”, simply because it implements real physics, and not some set of hacky shortcuts. 😉
Good curling!
2 replies on “Updates! Chess On Ice Version 3.0”
Can you please have a shot setup file that can be saved and loaded? So basically users can produce and share hackerdouble.shot file that can be loaded, which will position the stones and other configurations for the Hacker Double shot?
Yes! I’m now at the point where this is one of the features I’m currently adding to the upcoming version — to be released this spring or summer.